|
|
|
![]()

Version 1.0 1/11/02
By Adrian Champion
|
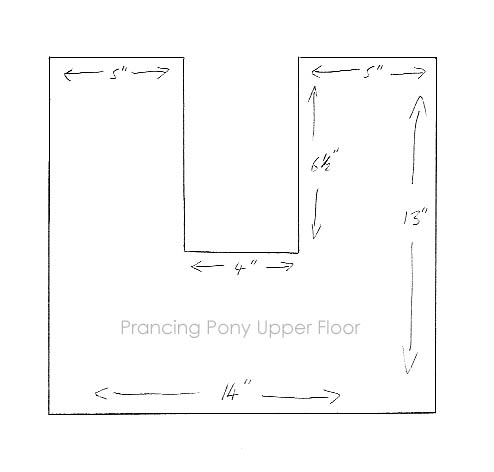
The first thing to do is to cut out a piece of art card to form the base of the upper floor. I actually got as far as doing this before I was forced to abandon the project last time.
For reasons that even I can’t remember, I made this piece of card 14” along the front edge, and 13” along the sides. I cannot stress enough how worthwhile it is to invest in this artists card. Your local art shop should sell this, maybe under the name of “mounting card” in big A3 sheets for less than £3. It’s thin enough to cut, but thick enough to be stable for small to medium sized projects. Part of me wishes I had discovered foamcore before starting this, as it is the next step up and would have allowed things like cutting out the windows. Still, the founding principles of Mithaearon’s site are to the use the easiest to find materials, so on reflection I regret nothing.
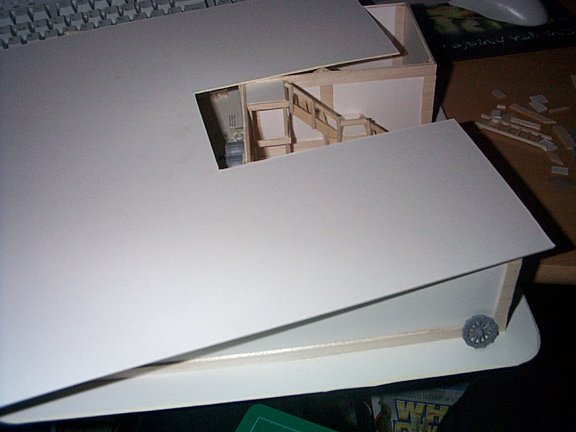
Anyway, taking this square of card, I cut out a rectangle to match the courtyard dimensions. The card should look something like this.
This floor should now overhang slightly at the front and sides of the building. With more forward planning, I would have made the base larger and had the upper floor overhang even more, and I would have put in support beams to carry the extra weight. Still, the benefit of my hindsight may help you to avoid the same mistake. The overhang does mean that the upper floor’s weight will be securely supported by the lower floors walls, and gives a nice old-fashioned style to it.
Now its time for CHAMPION’S BIG IDEA!
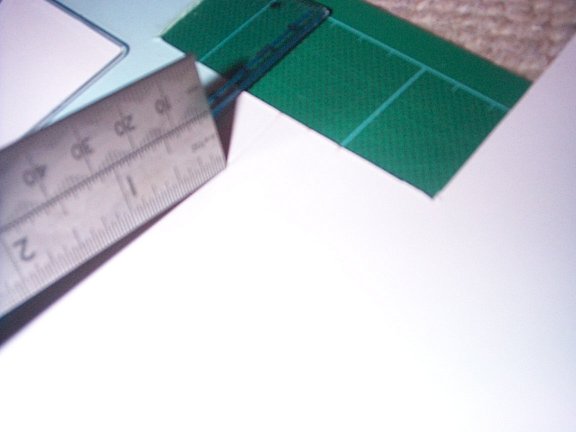
The lower floor is composed of heavy flagstones, and by using some card up card was represented in a tasteful and realistic manner. Upstairs is a different matter though, as it should have a wooden floor. This is where I had a brain wave. Taking my steel ruler, I scored indentations along the length of the card in a series of parallel lines like so.
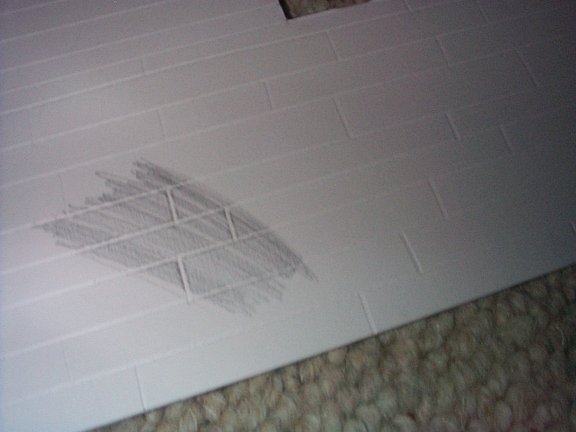
All that remained was to go back and join these lines up at semi-regular intervals, and voila! I now have a sheet of textured wood flooring. Obviously this is almost impossible to see in photos, so I have used a pencil to highlight the effect that was achieved.
It’s at this point I’m going to call a halt. Check back for the next part of the guide tomorrow, only here on BREE MONTH.
| << Introduction |
Adrian Champion
Champion2k@ntlworld.com
![]()
About Us | Write for us
© 2002 Mithaearon. All rights reserved. Terms
of Use Privacy Policy
Comments? Questions? Feedback? Click here!